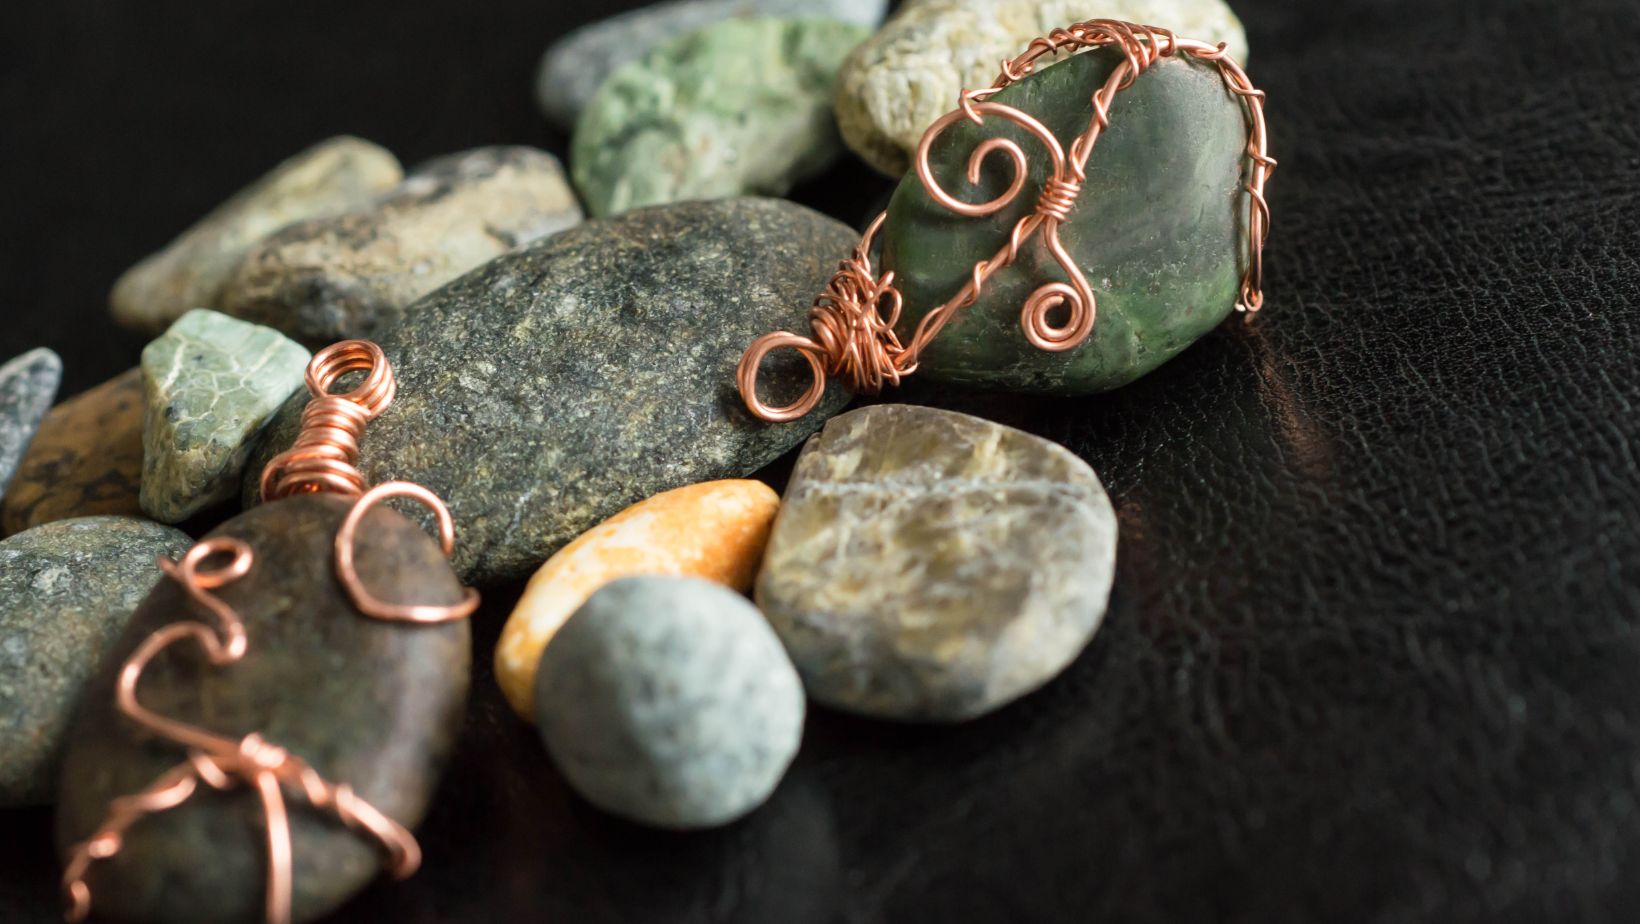
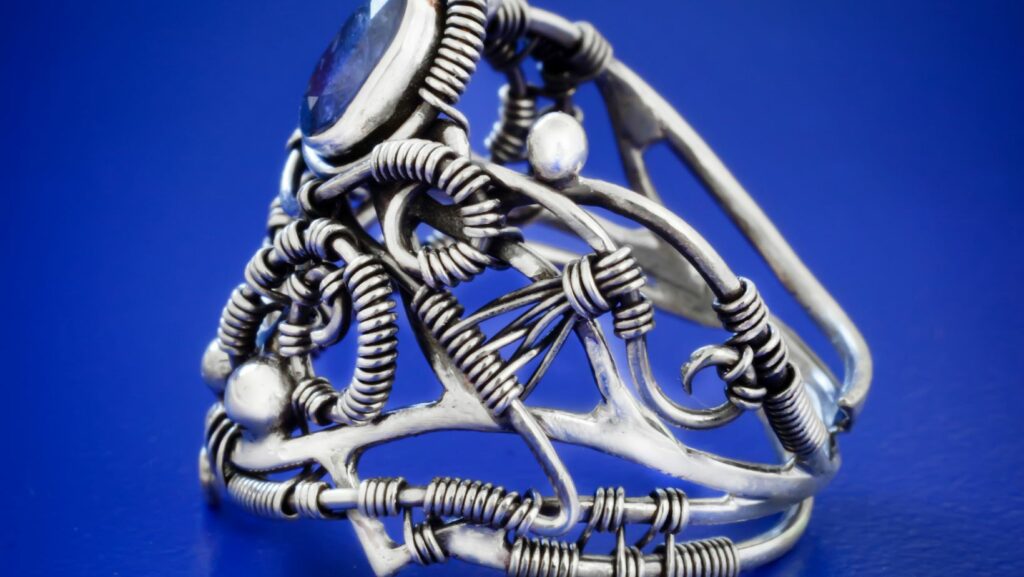
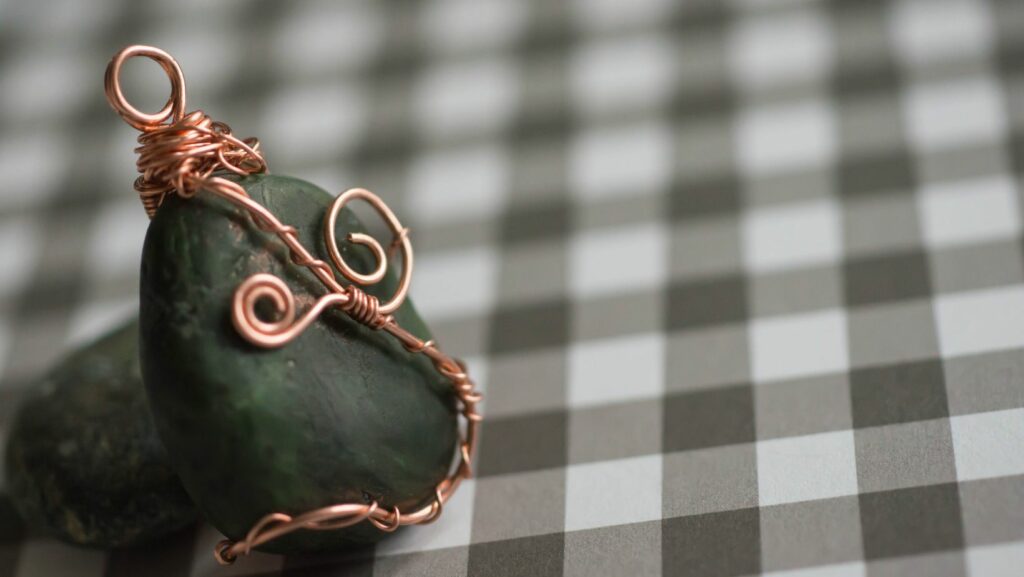
Tips for Wrapping Wire Jewelry
Wire wrapping is a popular technique for creating handmade jewelry. It’s a versatile and forgiving technique that can be used to create a wide variety of jewelry designs. In this article, we’ll share some tips to help you get started with wire wrapping.
Whether you’re new to wire wrapping or an experienced jewelry maker, these tips will help you create beautiful wire wrapped jewelry:
– Choose the right type of wire for your project. There are many types of wire available, and each has its own strengths and weaknesses. Do some research to find the type of wire that will work best for your project.
– Consider using thicker wire for projects that will receive a lot of wear and tear. Thicker wire is more durable and less likely to break than thinner wire.
– Use pliers to protect your hands from sharp edges when working with wire.
– Wrap your wire tightly around each other to create stronger bonds between the wires.
– Use Wire Cutters to trim away any excess wirewhen you’re finished wrapping.
Tools you’ll need
In order to wrap wire jewelry, you’ll need a few basic tools. You’ll need a pair of wire cutters, some round-nose pliers, and some flat-nose pliers. You’ll also need a mandrel – this is basically just a rod that you can wrap the wire around. A wood dowel or a metal rod will work just fine. Finally, you’ll need some jewelry wire. The gauge (thickness) of the wire will depend on the look you’re going for – thinner wire will result in a more delicate piece, while thicker wire will be more substantial.
How to wrap wire jewelry
Now that you have your tools and materials ready, it’s time to start wrapping wire jewelry! This guide will show you how to complete a basic design using the wrapped loop technique.
1. Cut a length of wire about 12” long. This will give you plenty of wire to work with, and you can always trim away any excess later.
2. Thread your wire through the center of your bead, leaving a small tail at the end. Make sure that the bead is positioned in the middle of the wire so that you have equal lengths of wire on either side.
3. Fold the wire in half so that the two tails are pointing in opposite directions. Cross the tails over each other, and then twist them around each other a few times to secure them in place. You’re now ready to start wrapping!
4. Take the tail on the left side and start wrapping it around the base of the loop, working your way up towards the bead. Wrap tightly and evenly, making sure that there are no gaps between wraps. When you reach the bead, tuck the tail underneath one of the previous wraps to secure it in place.
5. Now take the tail on the right side and repeat step 4, wrapping it in the opposite direction around the base of the loop. As before, wrap tightly and evenly, tucking Underneath one ofthe previous wraps when you reachthe bead. You should now have a double-wrapped loop that is secure and looks professional!
Finishing touches
Once you’ve wrapped your wire jewelry piece, it’s time to add the finishing touches. Here are a few tips to help you get the perfect finish for your piece:
-Use a fine-tipped marker to mark where you want to cut your wire. This will help you get a clean, straight cut.
-If you want to add a clasp to your piece, do so before you cut the excess wire off. This will make it easier to attach the clasp.
-Use flush-cutters to cut the excess wire off of your piece. Flush-cutters will give you a nice, clean cut.
-Use needle-nose pliers to make any adjustments to your wire jewelry piece. If you need to reshape or resize your piece, needle-nose pliers will come in handy.
With these tips in mind, you’re ready to start wrapping wire jewelry!